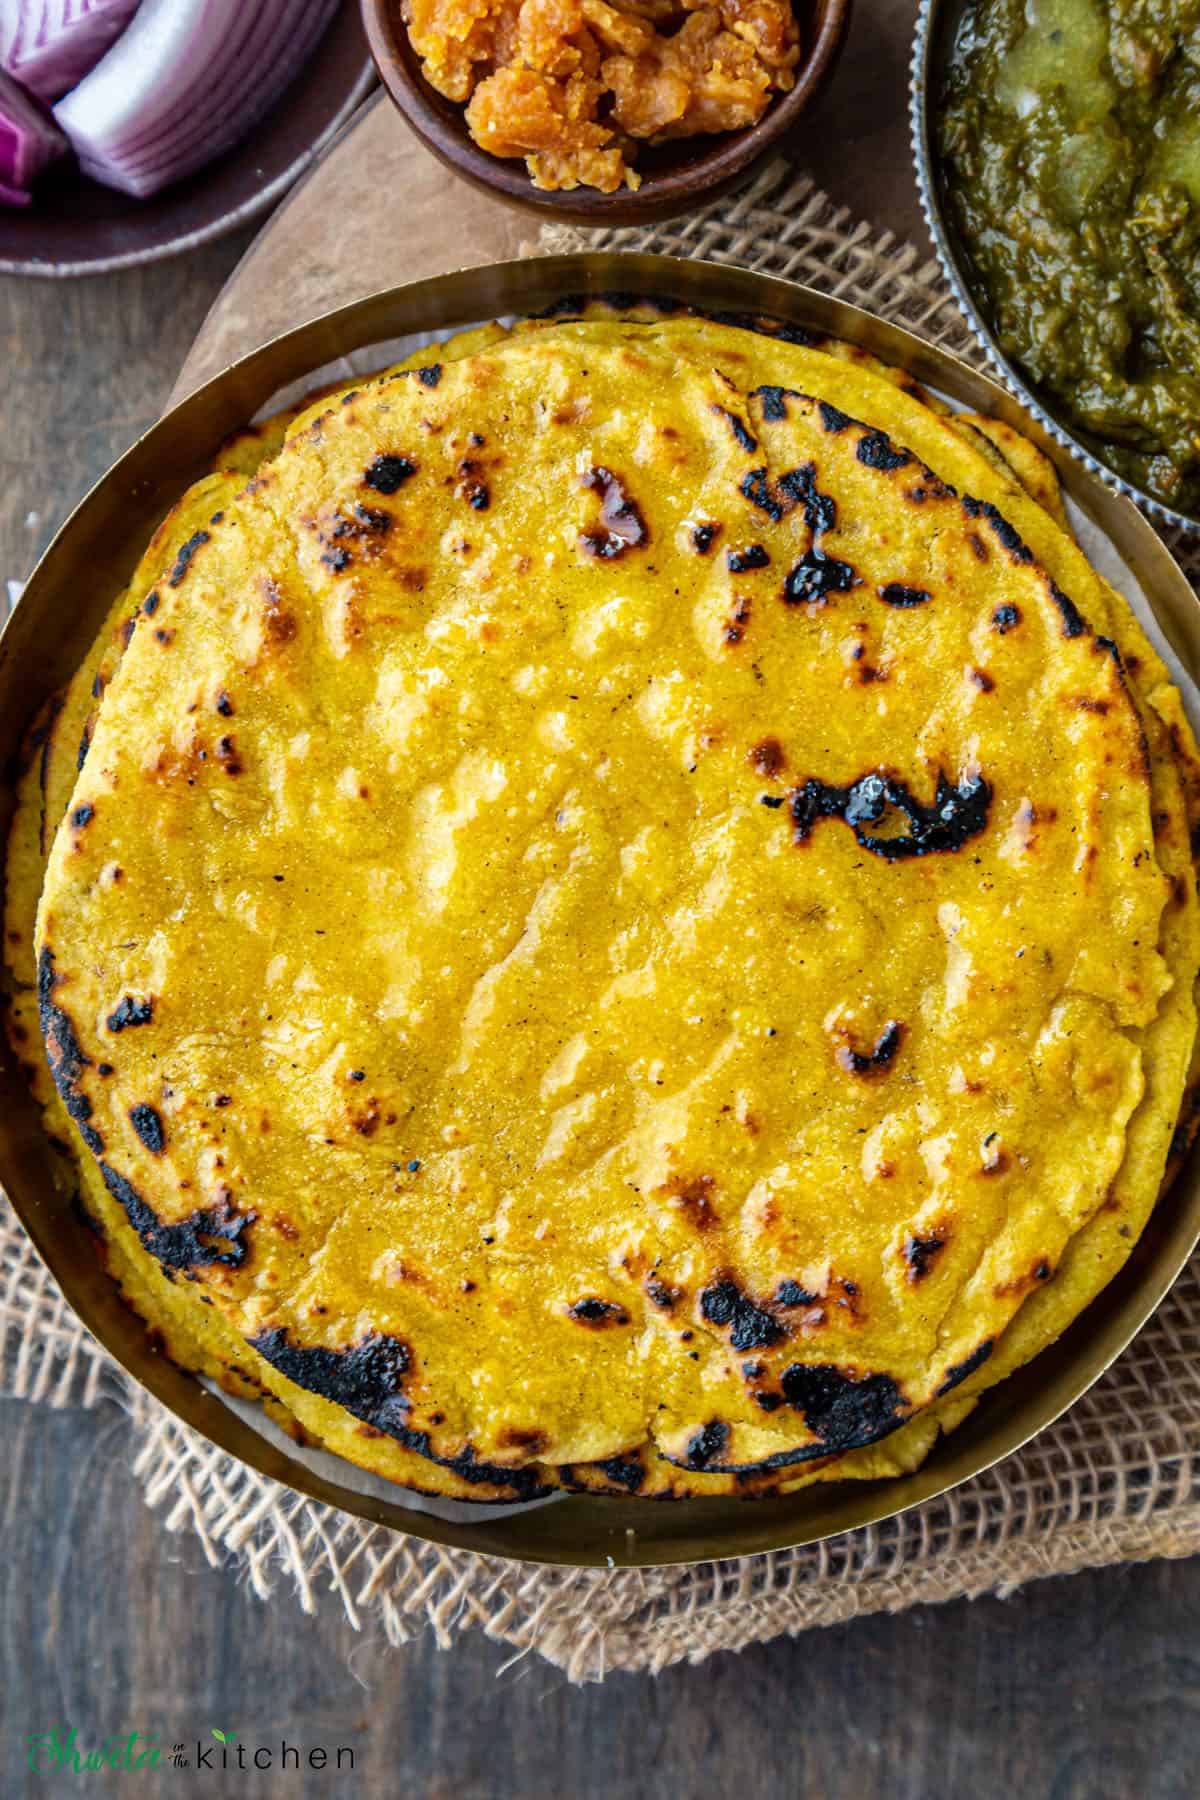
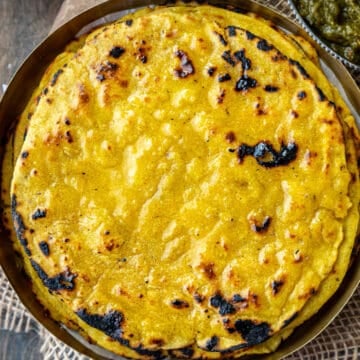
Makki ki Roti, also known as Makki di Roti is a gluten-free Punjabi flatbread made of cornmeal (makki ka atta). It is a winter staple recipe from North India and traditionally served with Sarson ka saag (spiced mustard greens curry).
Here is an easy, step by step recipe with tips and tricks on how to make Makki ki Roti at home.
Want to save this recipe?
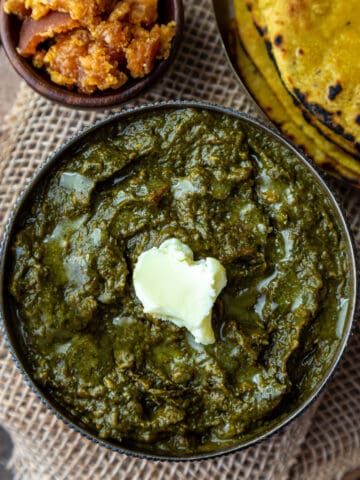
Makki ki roti Sarson ka saag is one of our favorite winter meal combos. My kids love it too!
The leftover Makki roti tastes really good the next day, toasted up a bit with homemade white butter or ghee along with chai for a quick breakfast.
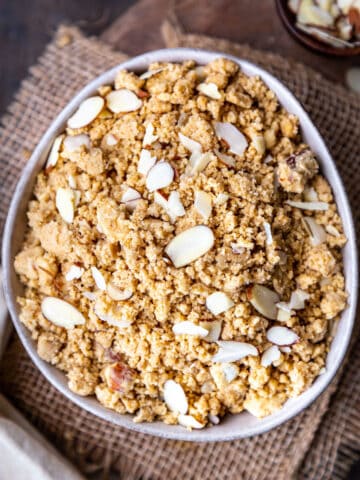
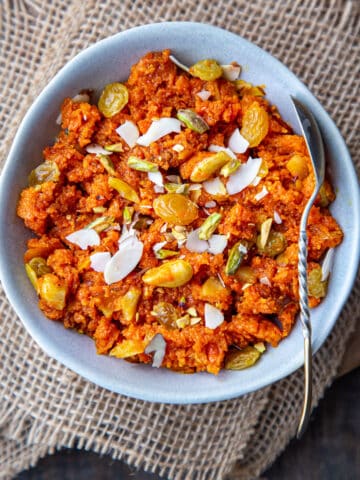
Our other winter favorites recipes are - Methi Matar Malai, Palak Paneer Paratha Recipe, Gajar Halwa, and Til Chikki (Gajak). Definitely give these a try!
What is Makki di Roti
Makki means maize (corn) and roti is a term used for Indian flatbread so Makki ki Roti in English means maize flour flatbread.
It is also known as Makki di Roti or Makki roti in Punjab.
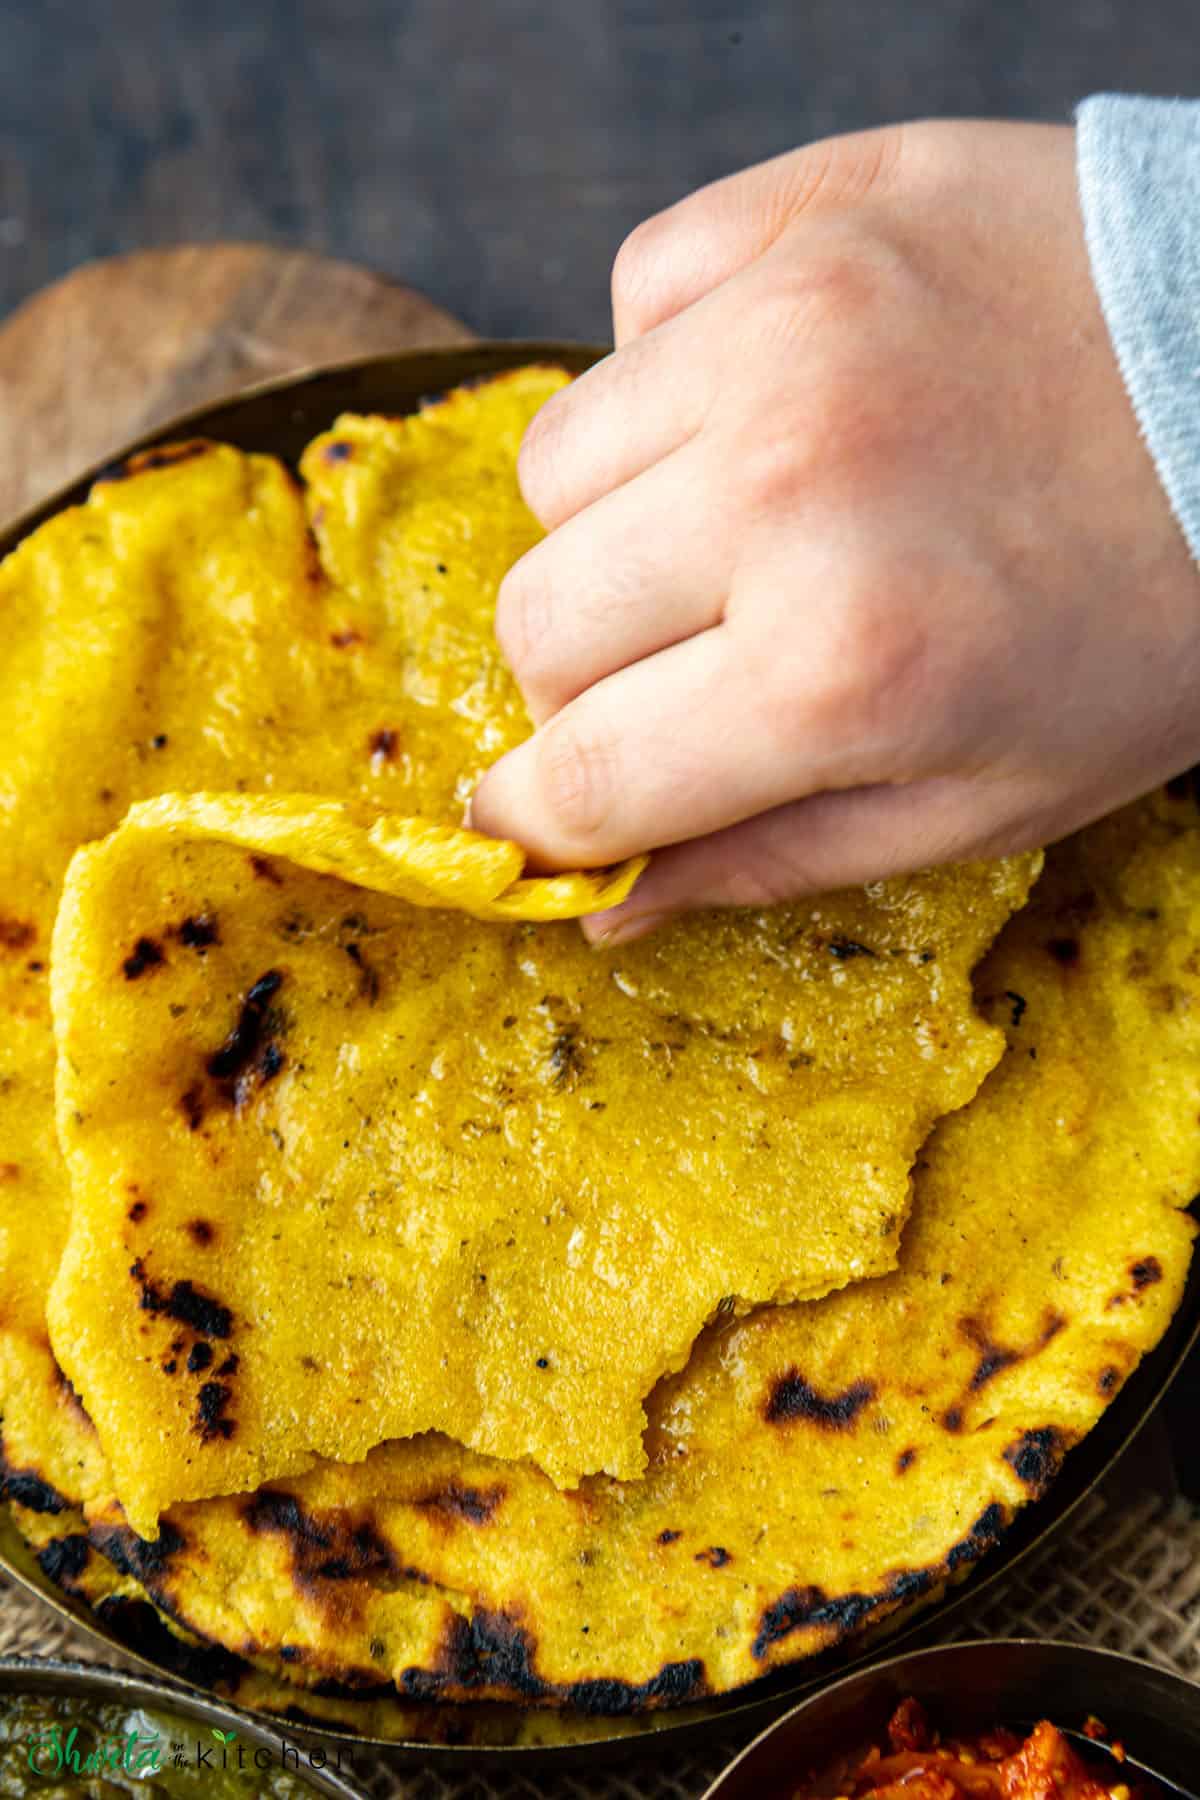
Makki roti is gluten-free, slightly coarse in texture, thicker, and yellow in color compared to regular wheat flour rotis.
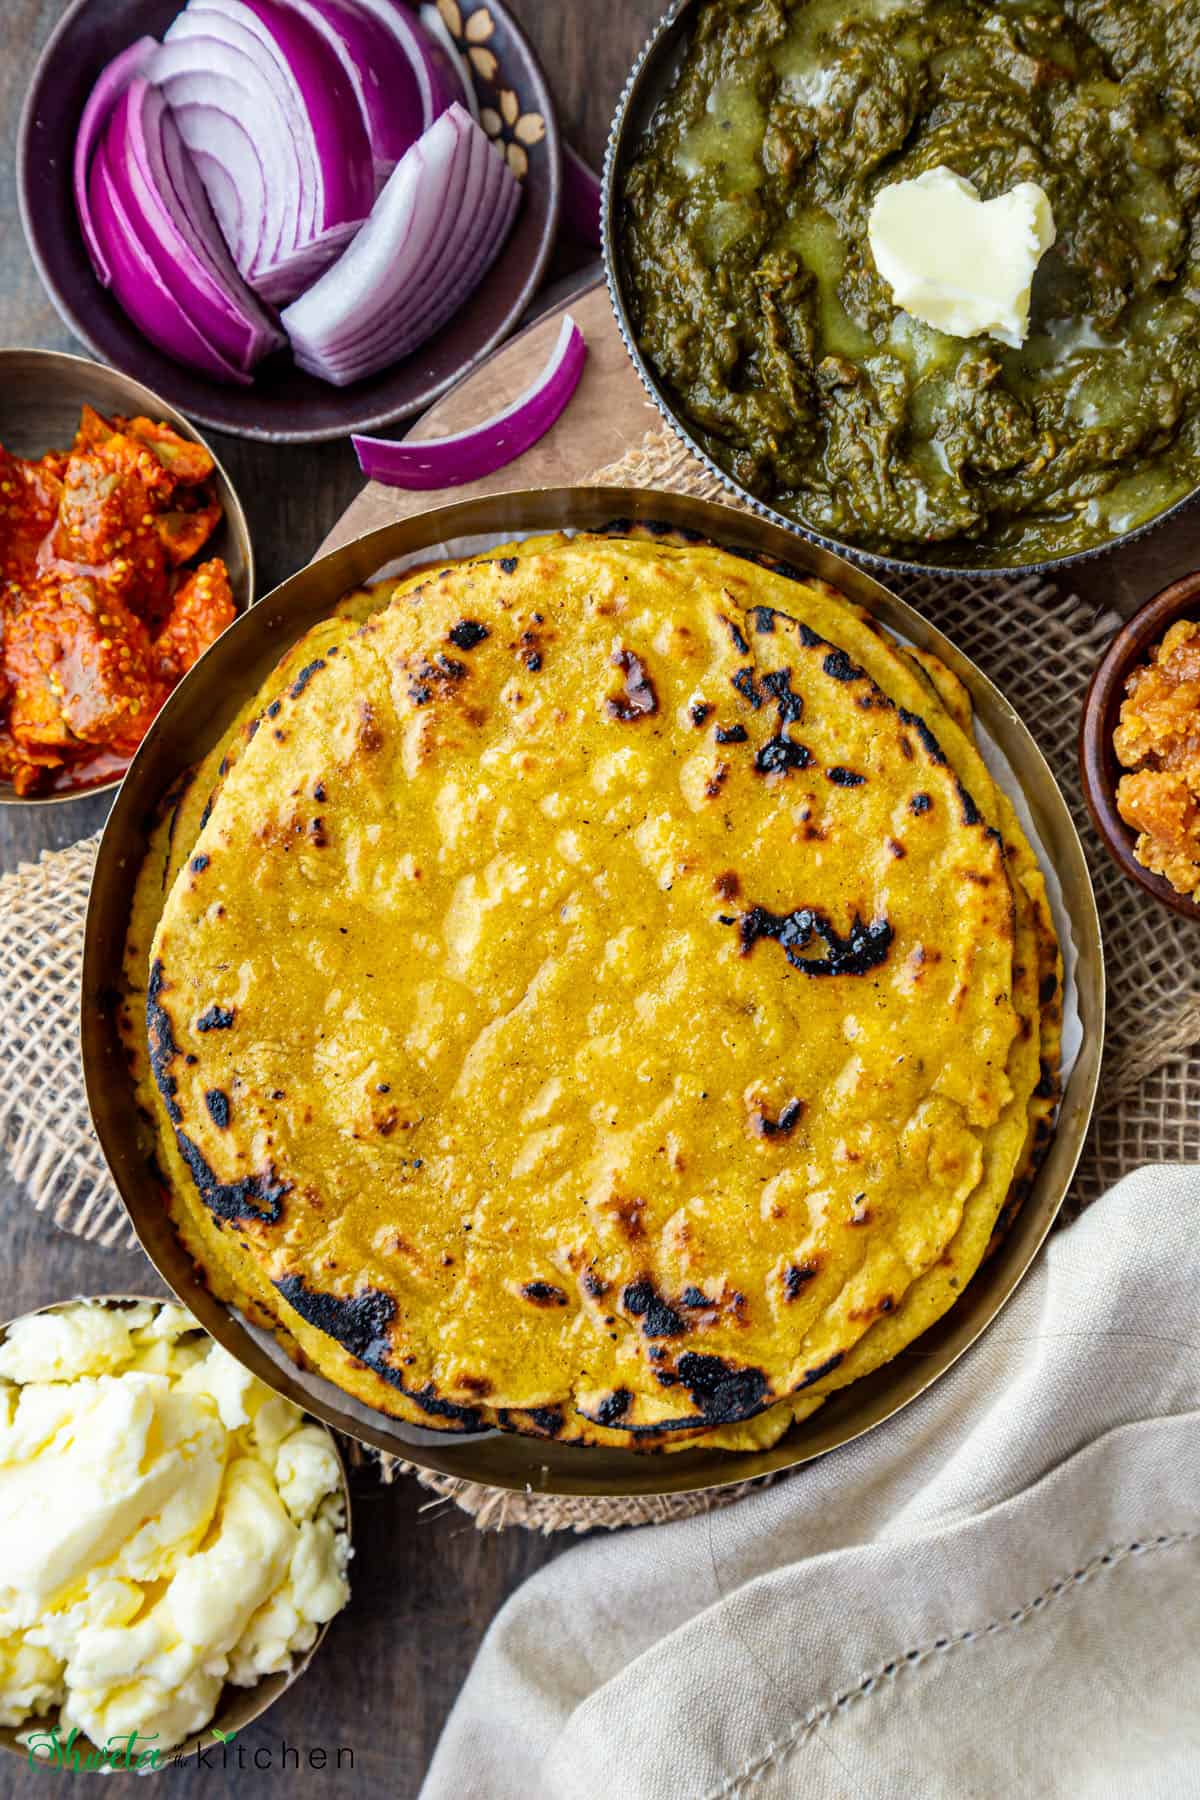
Makki di Roti is traditionally served with Sarson da saag (spiced mustard green curry) topped with ghee and/or butter along with jaggery and onions and a staple meal in most North Indian homes during winters.
Traditionally, this roti is made in tandoor but you can also make it on tawa (griddle) at home.
It's a simple recipe with very few ingredients but it does need some practice to make it right since its a gluten-free flour roti.
I've had my own share of failures which taught me these tips and tricks that always work!!
Happy to share those with you today so you can make the perfect Makki ki Roti the very first time!
Recipe Ingredients
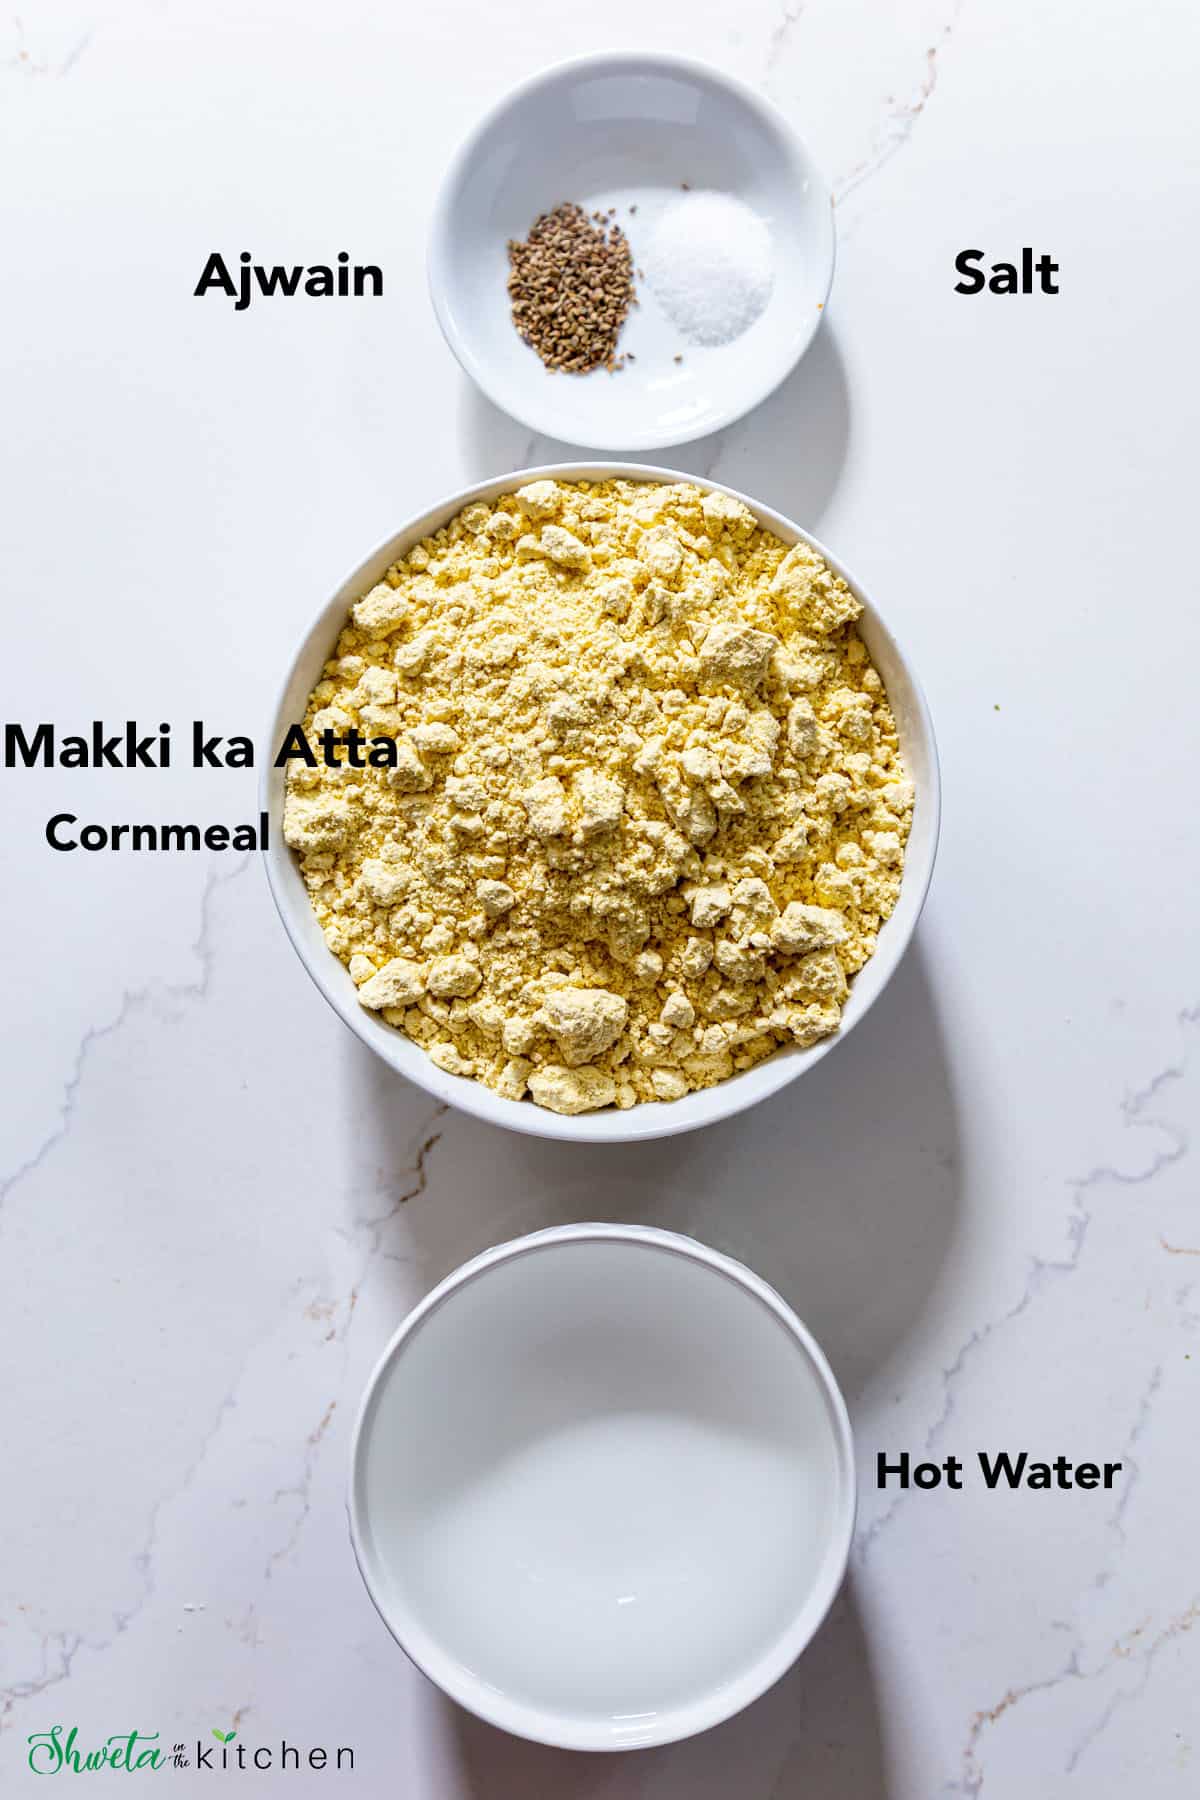
Makki ka Atta - Also known as cornmeal or cornflour. I've used the fine variety for this recipe. Makki ka atta is yellowish in color with a slightly coarse texture. Always use fresh flour.
Don't confuse it for arrowroot (cornstarch) which is white in color and fine powder in texture.
Ajwain - also known as carom seeds, caraway seeds or bishop's weed. Along with adding a nice peppery flavor, it also aids digestion.
Salt - for some flavor, you can also add some red chili powder if you like for heat.
Water - for kneading the dough. This dough is not like traditional roti dough so use hot water to knead it.
Ghee - to roast the rotis. Use oil to keep it vegan.
Step by Step Method
To make the dough

1 - In a mixing bowl, mix all the dry ingredients makki ka atta, salt and ajwain.
2 - Add hot water ½ cup at a time.
3 - Using your fingers (preferred) or spoon/fork, incorporate the water into the flour. I used about 2 cups of water.
4 - Knead into a soft dough. It will be crumbly and that is ok as long as it forms a ball.
The amount of water needed can vary depending on type and quality of flour.
Let the dough rest for 10 mins and divide it into 8-10 parts (for smaller rotis) for large rotis divide into 6-7.
To roll the roti
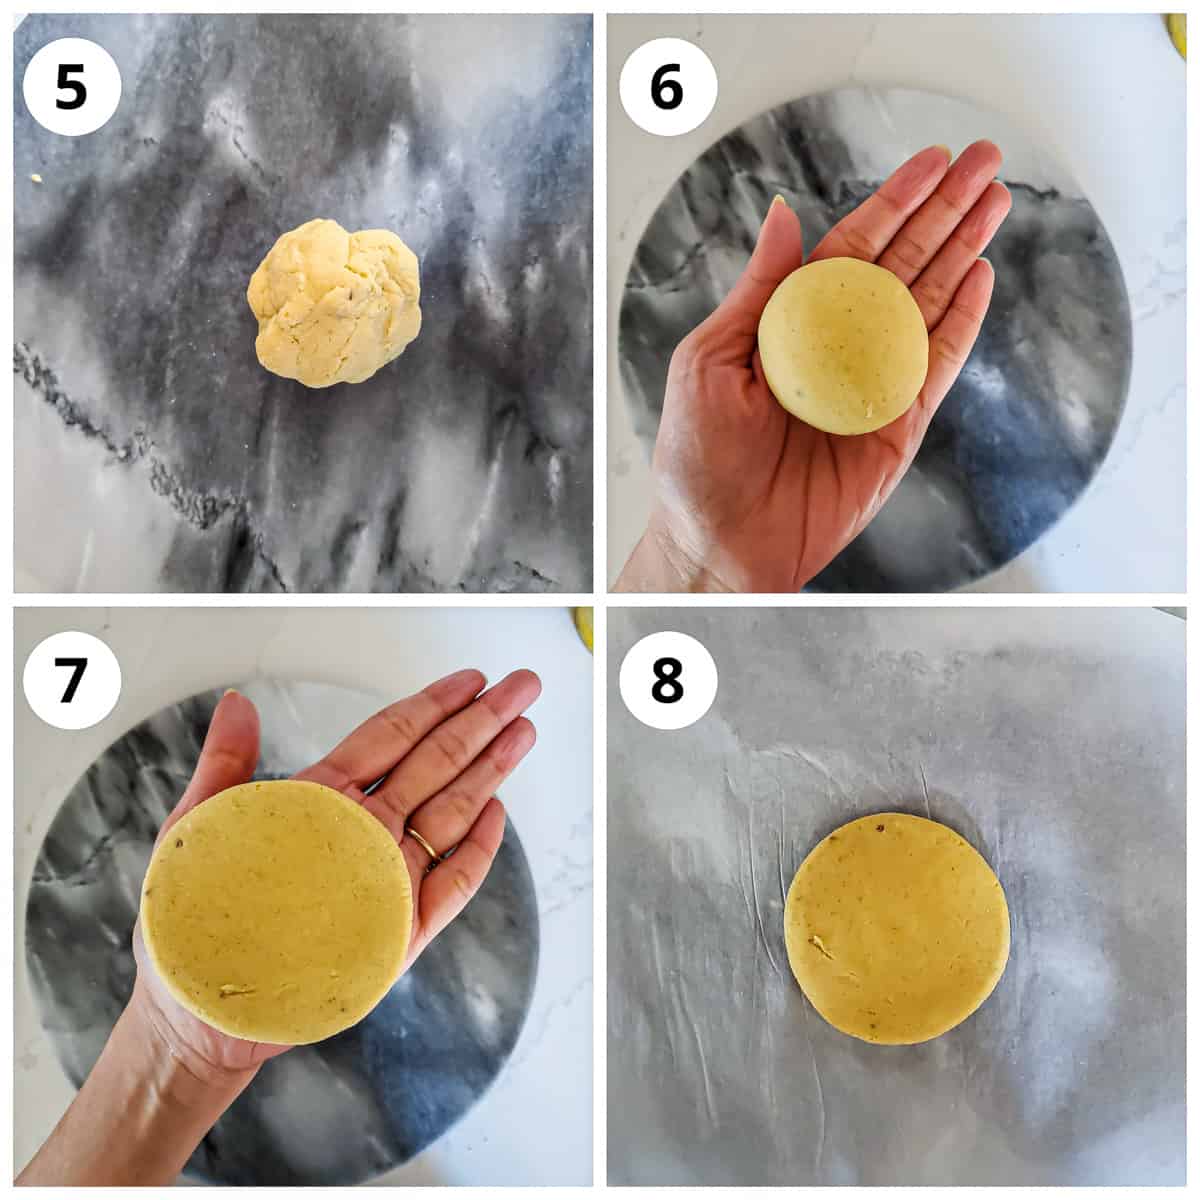
5 - Working with one ball at a time, knead the dough ball one more time until smooth. If its feels dry, wet you hands with warm water and knead until smooth and pliable.
6 - Roll it between your two palms into a smooth round ball.
7 - Press it between your palms to flatten it slightly about size of your palm.
8 - Transfer it onto parchment paper. This prevents the dough from sticking and makes transferring to the pan easily.
There are two ways to roll this roti, easier method and the traditional method
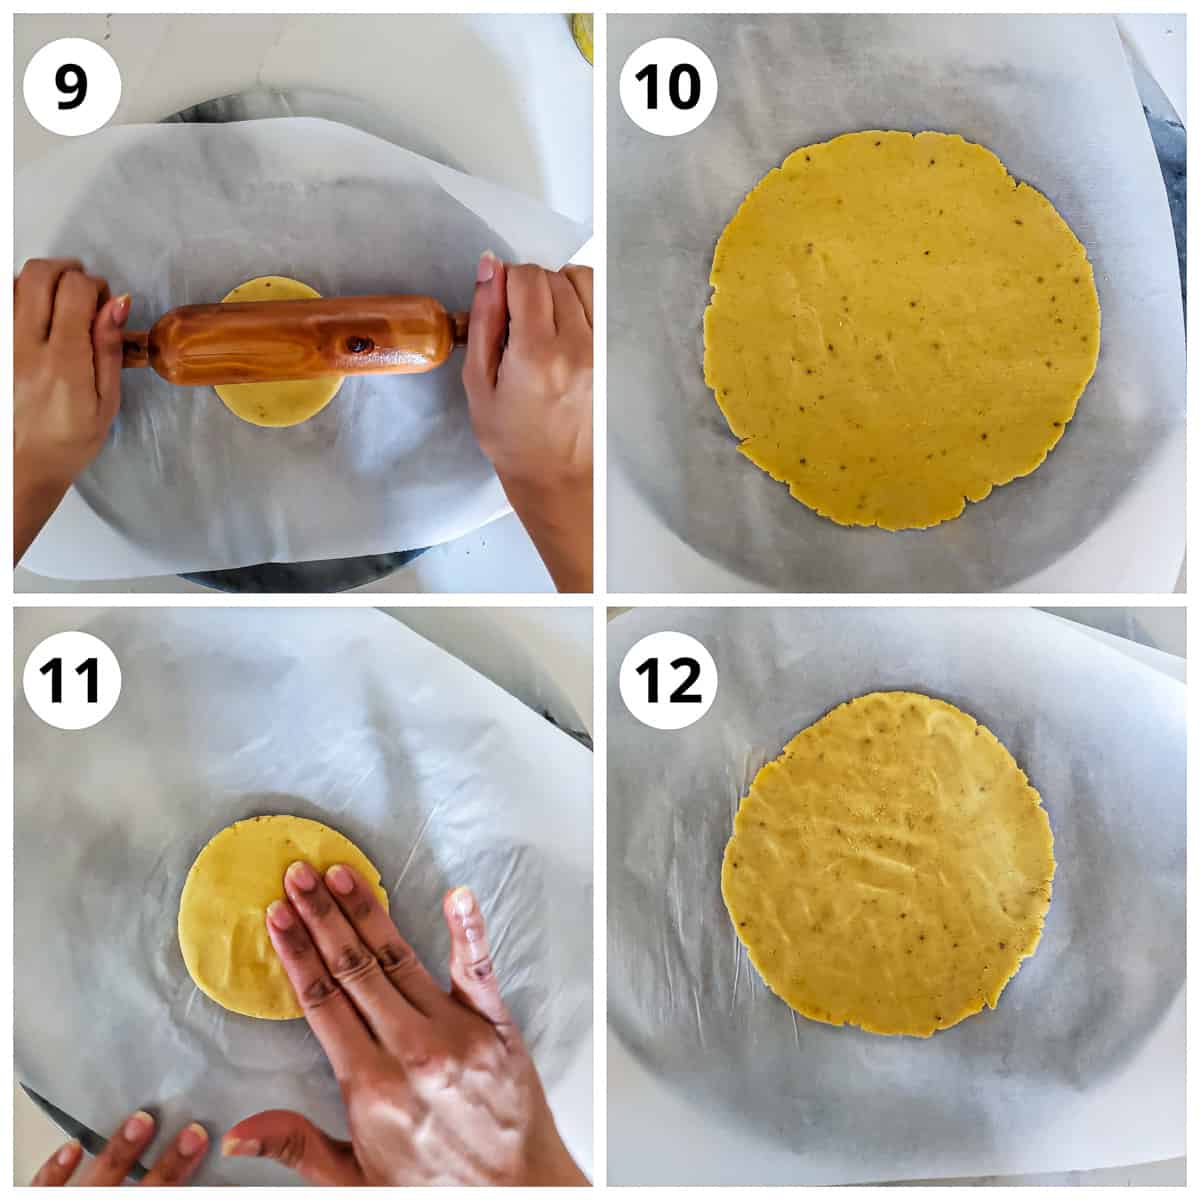
9 - Easy Method - use a rolling pin to roll the dough. Grease the rolling pin with some oil and ghee as it makes it easy and nonsticky to roll the dough. Alternately place the dough between two parchment papers and roll.
10 - Roll into 6-7 inch circle. To achieve the traditional look, press slightly with your fingers to get the same look as if you rolled them by hand.
11 - Traditional method - wet your fingers with warm water and press and pat the dough moving the parchment paper in a circular motion.
12 - Flatten evenly into a 6-7 inch circle. Water makes it nonsticky and easier to spread the dough so dip fingers as and when needed. Don't make the roti too thin as it will break.
Roasting the roti
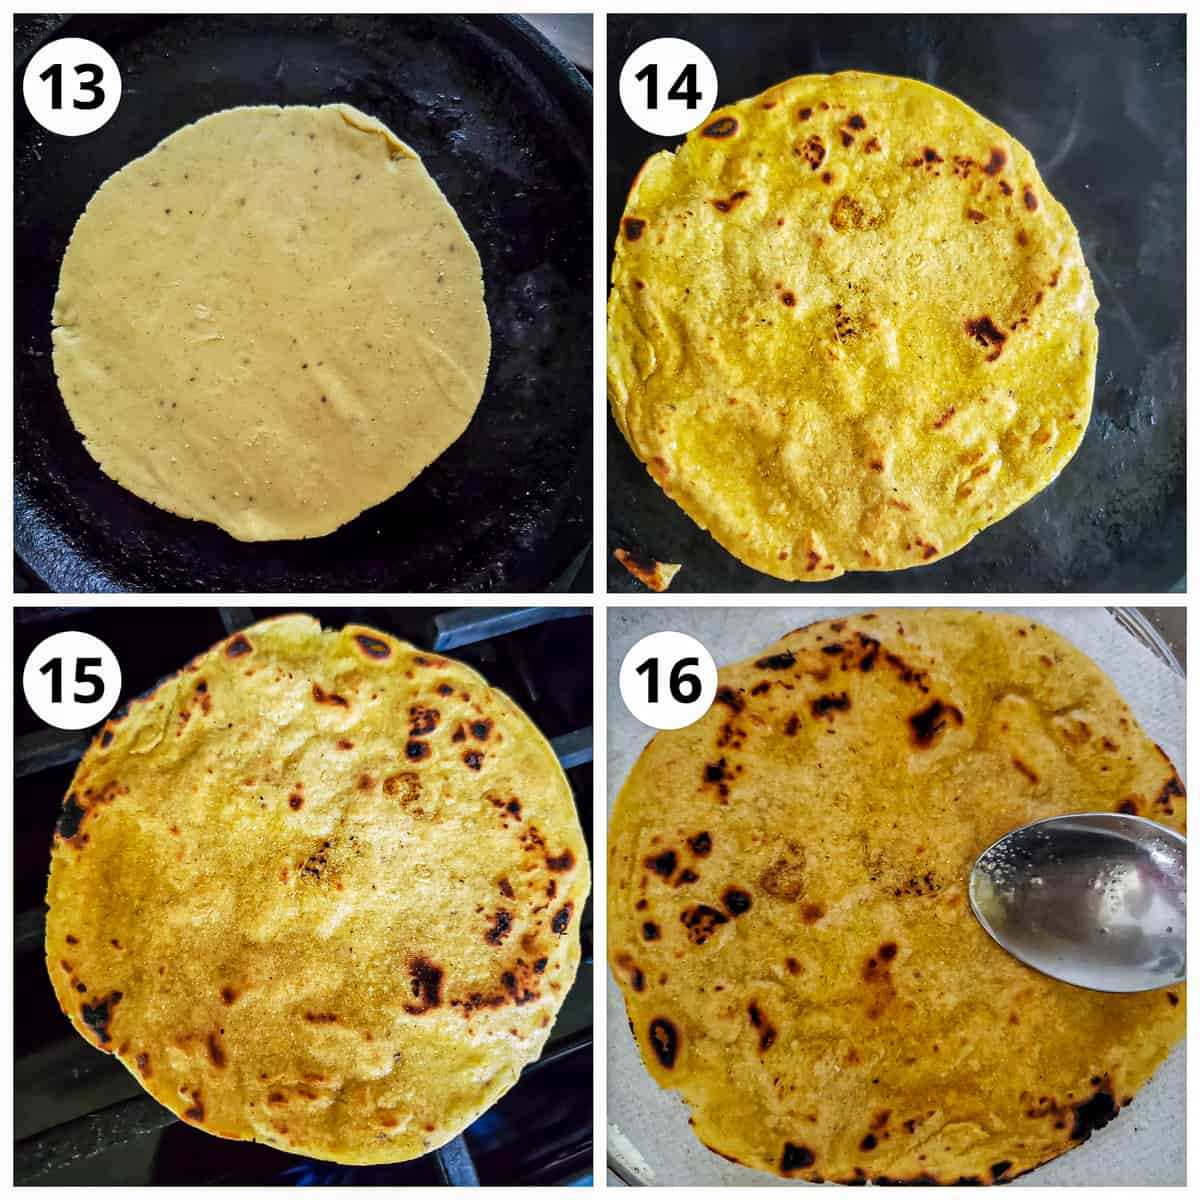
13 - Heat the tawa (griddle) on medium heat and carefully (without breaking) transfer the roti on to it
You can also place the roti directly on the tawa and then peel off the parchment paper, if that's easier.
14 - Cook one side until it has brown spots, then flip and cook the other side too. Apply ghee to the cooked side and flip and cook until both sides are evenly cooked.
15 - For that charred tandoor look, transfer the cooked rotis directly on to heat and roast both sides until they are slightly charred. Do not overroast. They will turn hard. (this step is optional)
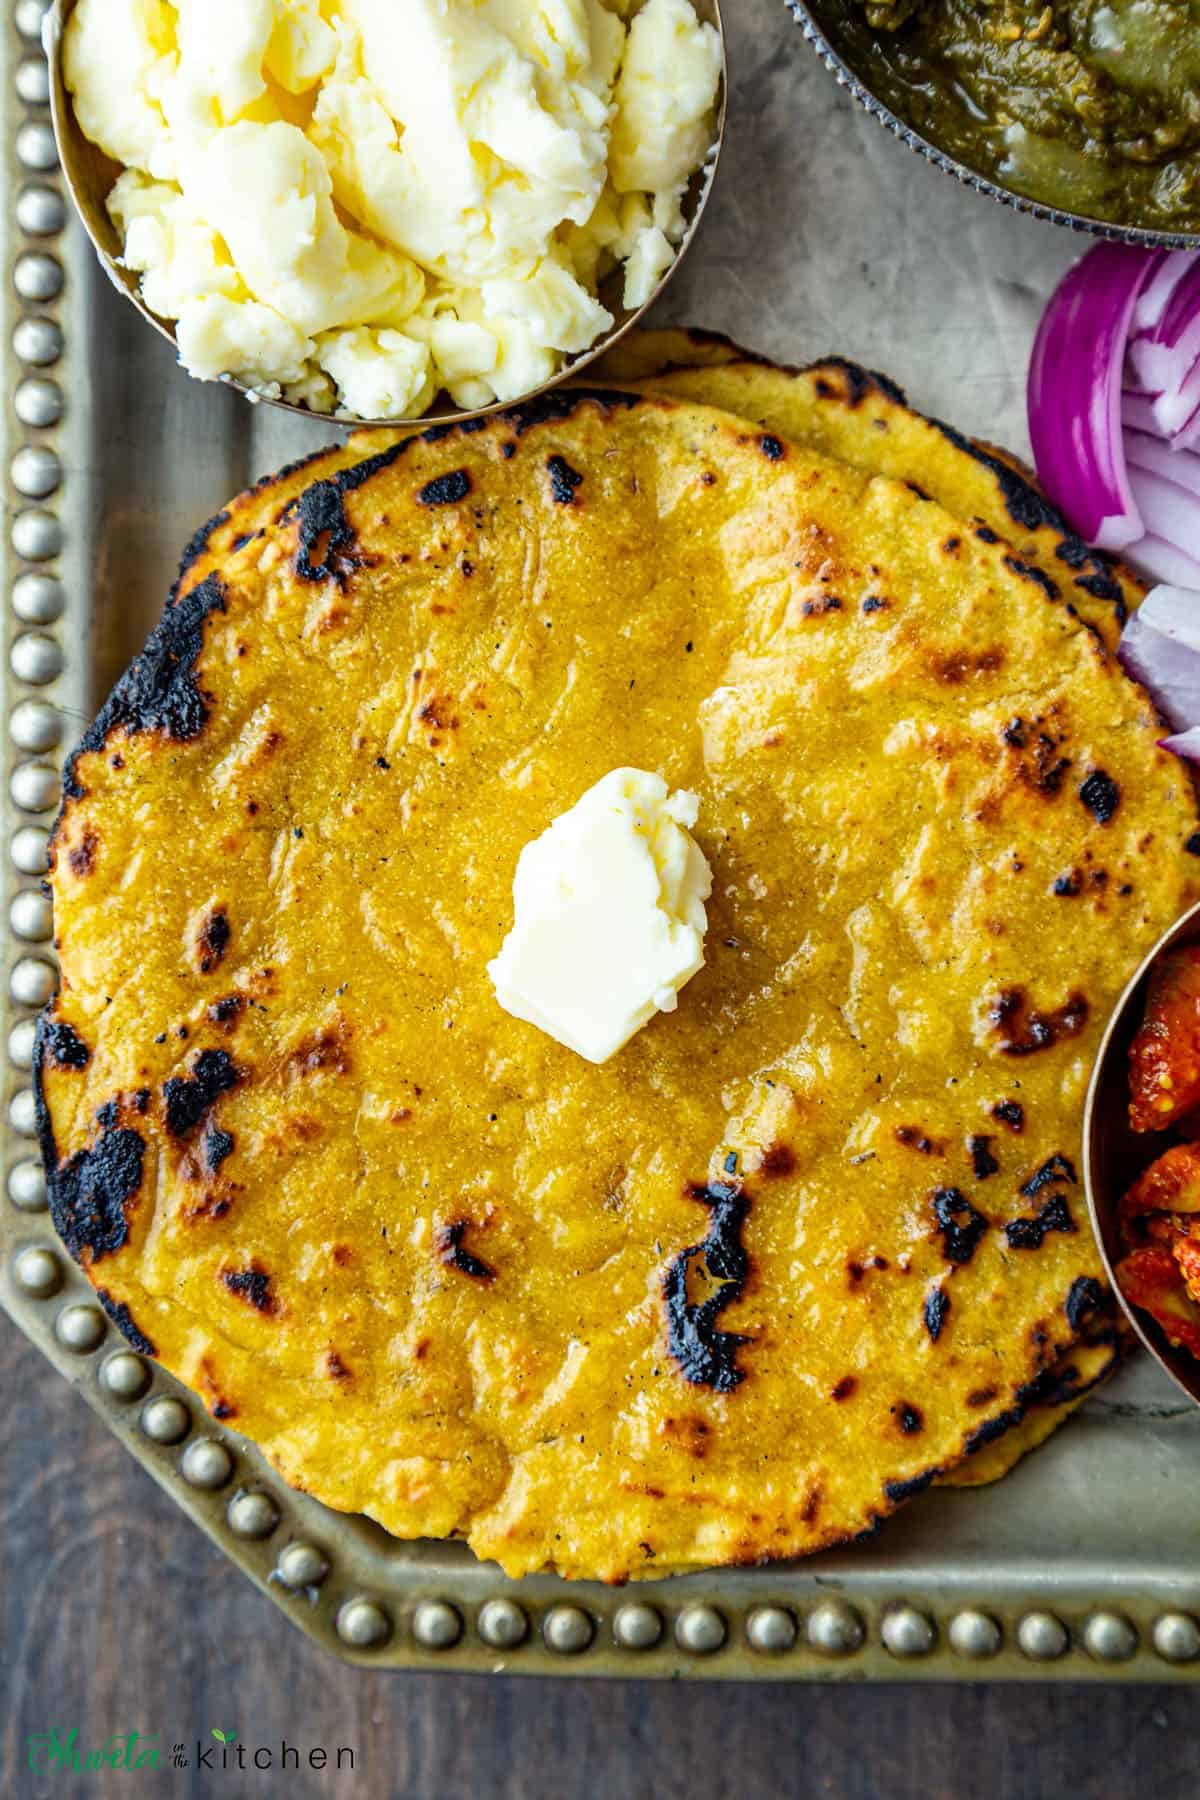
16 - Transfer them onto a plate and apply ghee. This helps keep them soft.
Cook the remaining rotis in this manner and serve hot!
Serving Suggestion
Always serve Makki ki roti fresh and hot smeared with ghee and topped with butter.
You can serve it as a meal with sarson ka saag, white butter, jaggery, onions, and pickle. Alternately you can also serve it for breakfast with some chai.
Recipe Tips
Here are my tips and tricks for those soft and round makki ki roti.
Flour - use cornmeal or corn flour (makki ka atta) that is yellow in color. Do not use cornstarch which is also referred to as corn flour sometimes and is white in color. These two are of different varieties.
Dough - The dough consistency is very important for those perfect round and soft rotis. Use hot and sufficient water to knead the dough. Rest the dough as it helps the water absorption resulting in softer rotis. Less water will result in dry and crumbly rotis.
Knead the dough balls - Just before rolling, knead each dough ball again. This is an opportunity to add more water as needed to smoothen the ball and make it pliable for easier rolling and round rotis.
Use parchment paper - to roll the rotis. It prevents the dough from sticking and makes transferring to the pan easier.
Rolling/Shaping -The trick to get those perfectly round rotis is to use warm water while flattening them with your hand. It prevents the dough from sticking to the hand. Alternately use a greased rolling pin for easier and faster rolling.
Hack - To get the traditional look after rolling, pat roti all over using fingers to achieve the same look as if you rolled it with your hand.
Roasting - roast on medium heat since they are thicker and need to cook longer than regular roti. To get the char effects like tandoor, roast on direct heat after they are completely cooked on tawa. Do not roast for too long else they will turn really hard.
Smear ghee and stack - Always serve this roti smeared in ghee and topped with butter. If you are not serving them immediately, stack these after applying ghee and keep them covered. This helps keep them soft.
Variation - you can add ½ cup grated mooli or methi or spinach leaves while making the dough for extra flavor. You can also add wheat flour to simplify the rolling process, but the roti won't be gluten-free anymore.
Frequently asked questions
Leftover makki ki roti can be stored wrapped in foil or a sealed bag in the refrigerator for 2-3 days too.
To reheat the roti, either microwave for a few seconds until warm or roast on tawa using ghee (or oil) until heated through.
Makki ki roti tastes best when served fresh so you can make the dough in advance and store it covered for 2-3 days in the refrigerator.
Makki ki roti made in advance can be stored covered in a sealed bag in the refrigerator for 2-3 days.
More flatbread recipes
Hope you enjoy this Makki ki Roti recipe!! If you give this recipe a try, please rate by clicking stars ⭐️ on the recipe card. Thank you ❤️ ! You can also follow me on Facebook | Instagram to see what's cooking in my kitchen!!
Recipe Card
Makki ki Roti
Ingredients
- 2 cups makki ka atta corn flour or maize flour (I've used fine variety)
- ½ teaspoon salt
- ½ teaspoon ajwain carom seeds
- 1.5 to 2 cups hot water for kneading, or as needed
- ghee or oil for roasting, as needed
Want to save this recipe?
Instructions
To make the dough
- In a mixing bowl, mix all the dry ingredients makki ka atta, salt and ajwain.
- Add hot water ½ cup at a time.
- Using your fingers (preferred) or spoon/fork, incorporate the water into the flour. I used about 2 cups of water.
- Knead into a soft dough. It will be crumbly and that is ok as long as it forms a ball.
- The amount of water needed can vary depending on type and quality of flour.
- Let the dough rest for 10 mins and divide it into 8-10 parts (for smaller rotis) for large rotis divide into 6-7.
To roll the roti
- Working with one ball at a time, knead the dough ball one more time until smooth. If its feels dry, wet you hands with warm water and knead until smooth and pliable.
- Roll it between your two palms into a smooth round ball. Press it between your palms to flatten it slightly about size of your palm.
- Transfer it onto parchment paper. This prevents the dough from sticking and makes transferring to the pan easily.
- There are two ways to roll this roti, the easier method and the traditional method
- Traditional method - wet your fingers with warm water and press and pat the dough moving the parchment paper in a circular motion. Flatten evenly into a 6-7 inch circle. Water makes it nonsticky and easier to spread the dough so dip fingers as and when needed. Don't make the roti too thin as it will break.
- Easy Method - use a rolling pin to roll the dough. Grease the rolling pin with some oil and ghee as it makes it easy and nonsticky to roll the dough. Alternately place the dough between two parchment papers and roll.
- Roll into 6-7 inch circle. To achieve the traditional look, press slightly with your fingers to get the same look as if you rolled them by hand.
To roast the roti
- Heat the tawa (griddle) on medium heat and carefully (without breaking) transfer the roti on to it
- You can also place the roti directly on the tawa and then peel off the parchment paper, if that's easier.
- Cook one side until it has brown spots, then flip and cook the other side too. Apply ghee to the cooked side and flip and cook until both sides are evenly cooked.
- For that charred tandoor look, transfer the cooked rotis directly on to heat and roast both sides until they are slightly charred. Do not over roast or else the rotis will turn hard. This step is optional
- Transfer them onto a plate and apply ghee. Cook the remaining rotis in this manner and serve hot!
- Serve Makki ki roti hot with sarson ka saag, white butter, jaggery, onions, and pickle.
Notes
- Use cornmeal or corn flour (makki ka atta) that is yellow in color. Do not use cornstarch which is white in color. These two are of different varieties.
- Use hot and sufficient water to knead the dough. Rest the dough as it helps the water absorption resulting in softer rotis. Less water will result in dry and crumbly rotis.
- Just before rolling, knead each dough ball again. This is an opportunity to add more water as needed to smoothen the ball and make it pliable for easier rolling and round rotis.
- Use parchment paper to roll the rotis. It prevents the dough from sticking and makes transferring to the pan easier.
- The trick to get those perfectly round rotis is to use warm water while flattening them with your hand. It prevents the dough from sticking to the hand.
- Alternately use a greased rolling pin for easier and faster rolling.
- To get the traditional look after rolling, pat roti all over using fingers to achieve the same look as if you rolled it with your hand.
- Roast on medium heat flipping until well cooked on both sides.
- Always serve this roti smeared in ghee and topped with butter.
- If you are not serving them immediately, stack these after applying ghee and keep them covered. This helps keep them soft.
- you can add ½ cup grated mooli or methi or spinach leaves while making the dough for extra flavor.
- Add wheat flour to simplify the rolling process, but the roti won't be gluten-free anymore.
- You can make the dough in advance and store it covered for 2-3 days in the refrigerator.
- Leftover makki ki roti can be stored wrapped in foil or a sealed bag in the refrigerator for 2-3 days too.
- To reheat the roti, either microwave for a few seconds until warm or roast on tawa using ghee (or oil) until heated through.

Leave a comment & rate the recipe