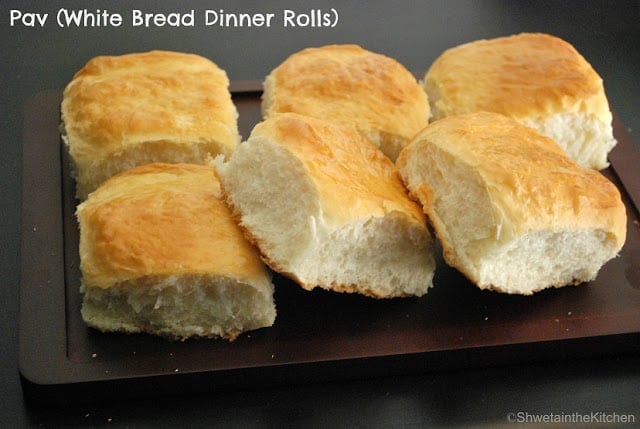
Am a big-time bread fan, can eat it for all my three meals. Baking Pav (White bread dinner rolls) is my first bread baking experience and wow what an experience it was!! Thoroughly enjoyed it. Addicted to bread baking now so you will be seeing more bread recipes on this space. Recommend bread baking to all, must try at least once !!
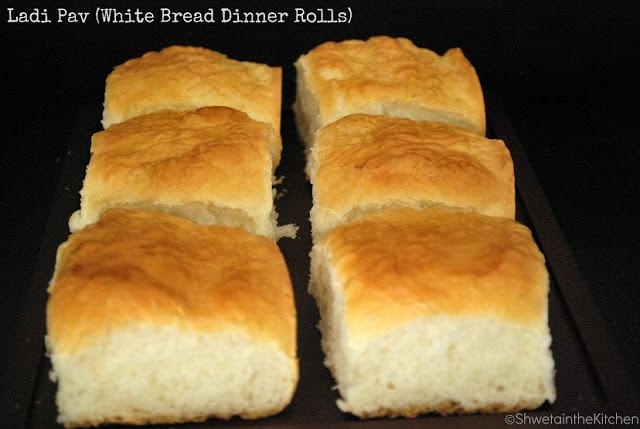
Ever since childhood, we got Ladi (slab) pav from a bakery situated at walking distance from our house. Usually we did get slice bread but for those days where mom was making Pav Bhaji, vada pav or chicken my family preferred Pav. Bakery served freshly baked pav around 7:oo PM everyday. As soon as the big tray of bread would be out of that huge furnace, it would disappear in minutes, they were always in demand. Bakery aroma always makes me hungry. I could hardly resist not eating those soft & hot pav so on my way back home, I would start plucking n eating the white part of the bread. By the time I reached home, the pav looked as if some mice nibbled it. But that's not it, I would spread some butter over that still so hot pav and finish it all 🙂
Ingredients: (Makes 12 -16 Pav (White Bread Dinner Rolls)
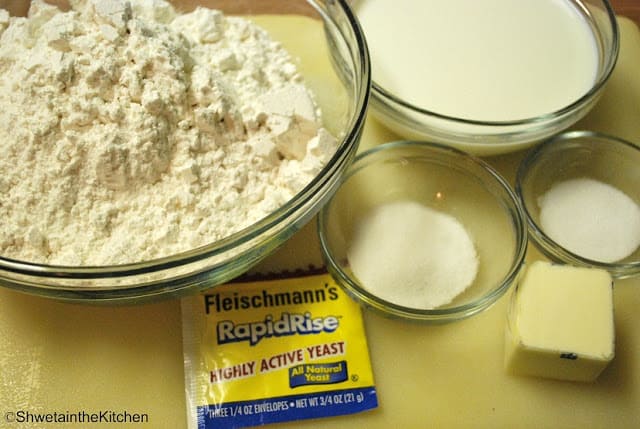
3 and half cups of All purpose flour (Maida)
2 and ¼ teaspoon of dry active yeast (1 packet) (using rapid rise)
1 tablespoon of sugar
1 teaspoon salt
3 tablespoon melted butter or oil
1 cup luke warm water
¼ cup luke warm milk
Method:
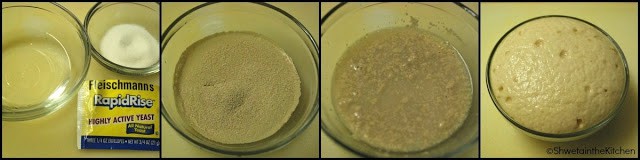
Add the sugar and yeast to luke warm water and stir to mix it. Keep it aside and let it froth up (approximately 10 mins). This step is not required for rapid rise yeast. Rapid rise yeast can be directly added to the flour.
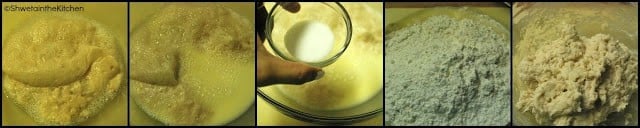
Once the yeast froths up, add milk, butter mixture and salt to it. Mix. Next add 1 cup of flour at a time and mix to form a sticky dough
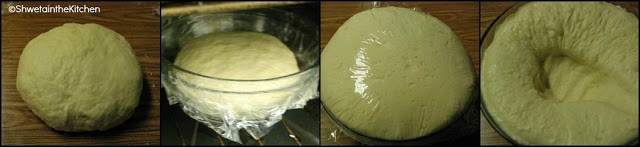
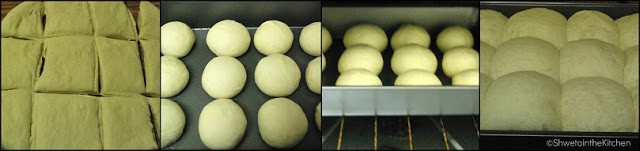
Spray or grease a baking dish with some oil and keep aside. Roll the dough into a thick circle and divide into 12 -16 equal parts. Roll each part into a smooth ball and place it on the greased baking dish.
Place all the balls equidistantly allowing ample space for them to rise as they will rise and spread. Again cover and let them rise for 45 mins to and hour. At this point start preheating the oven to 400F.
After 45 mins you can see that the balls have doubled and now they stick to each other.
Bake for 15-20 mins. Remove from oven, let them cool for 5 mins in the pan and then transfer to a cooking rack.
Notes:
- The pav may feel hard when they are just out of the oven. They will soften as they cool.
- Brushing the pav with milk before baking them is optional.
- Once the Pav are out of the oven you can brush them with some butter for a richer flavor.
- You can use all water for this recipe and skip the milk
- You can use Kitchen Aid stand mixer for kneading the dough as it makes it easier. Knead the dough on on medium low speed for 2-3 minutes till everything mixes well then turn the speed to medium high and knead for the remaining 7-8 minutes.
- You can store the Pav in airtight container on counter top for 2-3 days and then store in refrigerator for upto a week.
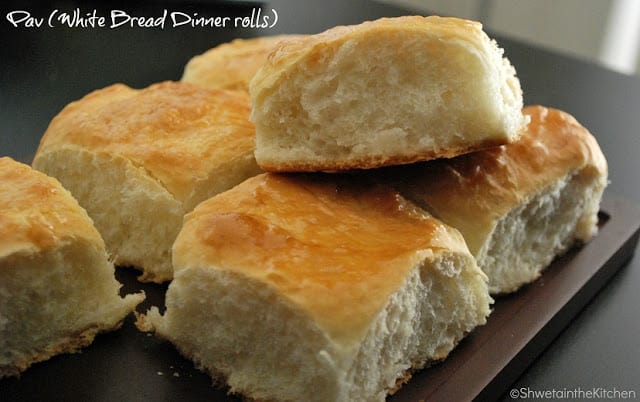
That's it, our soft and fluffy Pav (White Bread Dinner Rolls) are ready. These Pav can be used for variety of dishes like Pav Bhaji, Chicken gravy or the very famous snack Vada Pav. Stay tuned for recipes using Pav.
Happy Baking!!
Shweta


Shweta Arora says
Hi Cookorcrook, thanks for trying the recipe. The pav may feel hard when they are just out of the oven. They will soften as they cool. Also it may be because every oven is different. Try baking at higher temperature but for less time and see if it gives you the color and softness of choice.
cookorcrook says
Hi shweta...i loved this recipe. It worked. Ever since i moved to the states i have missed pav everyday, being a mumbai girl. I read your article and something told me this recipe looked perfect. I just faced one slight issue. The inside crumb was perfect but the outside got crunchy. I imagine it was beause i kept it inside for a longer time. But i wanted the brown colour on top too. However yours look brown as well as soft. What could i be doing wrong?
mahjong says
Really impressive post. I read it whole and going to share it with my social circules. I enjoyed your article and planning to rewrite it on my own blog.
mahjong
Shweta Arora says
Hi Shweta, thanks for trying the ladi pav recipe. Am glad you liked it 🙂
Shweta Gupta says
Hi my name is also Shweta. I used yr recipe to make the laadi pav . I couldn't believe that I was eating Mumbai pav made @ home in Hyd. Thanks for sharing the recipe